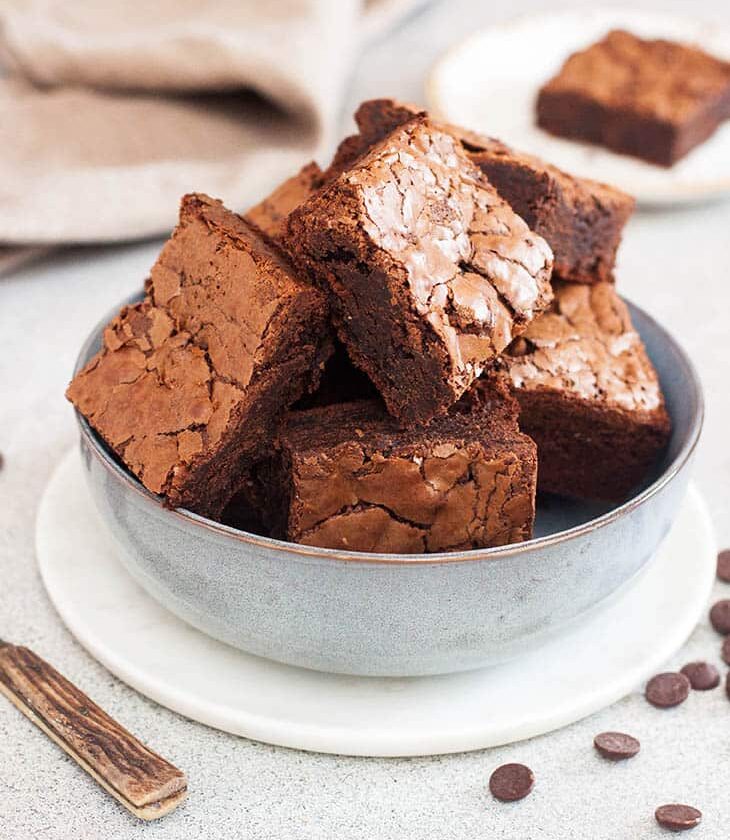
These brownies are dense, moist, and chocolate-forward, not fluffy or crumbly. If you’ve ever been disappointed by brownies that taste like chocolate-flavored bread, this recipe is your redemption arc.
What Makes These Brownies Fudgy?
Before we start, here’s the philosophy:
- More fat than flour = fudgier texture
- Melted chocolate + cocoa powder = depth and intensity
- Minimal mixing after flour = dense, not airy
- Slight underbake = gooey center that sets as it cools
These brownies improve as they cool. I know it’s hard, but patience is part of the recipe.
Ingredients (Makes 9–12 brownies)
Chocolate Base
- 170 g (6 oz) dark chocolate (60–70% cocoa), chopped
- 115 g (½ cup / 1 stick) unsalted butter
This combo is the backbone. Butter gives richness; dark chocolate gives complexity and bitterness to balance the sugar.
Sugar & Structure
- 200 g (1 cup) granulated sugar
- 100 g (½ cup, packed) brown sugar
Using both sugars is key. White sugar helps with the crackly top, while brown sugar adds moisture and chew.
Eggs
- 2 large eggs, room temperature
- 1 extra egg yolk
That extra yolk? Pure fudginess. Yolks add fat and emulsifiers, which make brownies rich and dense.
Flavor Boosters
- 1 teaspoon vanilla extract
- 1 teaspoon fine sea salt
Salt is not optional. It sharpens the chocolate flavor and keeps the brownies from tasting flat.
Dry Ingredients
- 65 g (½ cup) all-purpose flour
- 25 g (¼ cup) unsweetened cocoa powder
Yes, both. Melted chocolate gives body, cocoa gives intensity. Together they’re unstoppable.
Equipment You’ll Need
- 20 cm x 20 cm (8×8 inch) baking pan
- Parchment paper
- Heatproof bowl
- Whisk
- Rubber spatula
No mixer required. In fact, mixers are the enemy of fudgy brownies.
Step-by-Step Instructions
1. Prep Like You Mean It
Preheat your oven to 175°C (350°F). Line your baking pan with parchment paper, leaving some overhang on the sides so you can lift the brownies out later. Lightly butter the parchment.
This step saves your sanity later. Do not skip it.
2. Melt the Chocolate and Butter
In a heatproof bowl, combine the chopped dark chocolate and butter. Melt gently using a double boiler or in the microwave in 20-second bursts, stirring between each.
You want it smooth and glossy, not hot. If it’s too hot, it can scramble the eggs later, and that’s a tragedy we will not accept.
Let it cool for about 3–5 minutes.
3. Add Sugars While Warm
Whisk both sugars into the melted chocolate mixture. The warmth helps dissolve the sugar, which is how you get that shiny, crackly top.
It’ll look thick and grainy at first—totally normal.
4. Eggs: The Texture Makers
Add the eggs one at a time, whisking well after each. Then whisk in the extra yolk, vanilla, and salt.
At this stage, whisk vigorously for about 30 seconds. You’re not whipping air, but you are creating structure and sheen. The batter should look smooth, glossy, and luxurious.
This is the moment where you know the brownies are going to be good.
5. Fold in the Dry Ingredients
Sift together the flour and cocoa powder, then sprinkle them over the batter.
Using a rubber spatula, fold gently until just combined. No streaks of flour, but also no aggressive stirring. Overmixing here = cakey brownies, and we don’t do that.
The batter will be thick. That’s exactly what you want.
6. Bake with Intention
Pour the batter into your prepared pan and smooth the top.
Bake for 22–28 minutes, depending on your oven. Start checking at 22.
You’re looking for:
- A set, crackly top
- Edges that look firm
- A center that still looks slightly soft
A toothpick inserted into the center should come out with moist crumbs, not wet batter, not clean.
If it’s clean, you’ve gone too far—but don’t panic. They’ll still be good, just less gooey.
7. The Hardest Part: Cooling
Let the brownies cool completely in the pan. At least 1 hour. Longer if you can manage.
This is when the structure sets and the fudginess fully develops. Cutting too early will give you molten chaos (delicious chaos, but still).
Once cooled, lift them out using the parchment and slice with a sharp knife. Wipe the knife between cuts for clean edges.
Texture & Flavor Notes
- Day 1: Super fudgy, rich, intense
- Day 2: Even fudgier, more cohesive, somehow better
- Warmed slightly: Borderline obscene in the best way